Sunday, March 13, 2011

BLUSHING BRIDE - CHALLENGE #5

WOW,  I am earlier this week with my entry for the Stampin on Tuesday Challenge #5.  I wanted to start using some of the 6x6 In-Color DSP (hostess gift level 1), so today I am using Blushing Bride.  I love the softness of this color.  Here is the layout for this challenge.


and here is my take on it.


I must say I really like how it turned out.  I scored around the edges and placed my 1" squares using the repositional tape to line them up.  After putting the permanent adhessive on I got the new Pretty In Pink Taffeta striped edge ribbon; cut it, and  added double sided sticky tape.  I positioned the ribbon on the inside rows first and then the outside edges.  Next I placed the Basic Pearls at each intersection. I made my butterflies using the embossed butterfly wings embosslit (blushing bride cardstock) but only used the smallest three.  I used the scallop oval punch and the sentiment from So Happy For You.  I am so glad that I am using clear stamps as I can split the words and line them up real easy.  I used Regal Rose ink pad to sponge around the oval and then used the Mat Pack to do the piercing. I hope you like this.  Be sure to check out Stampin On Tuesday and play along with us.

I have been spending the last few days making some craft items to sell this spring at our campground.  I will share with you when I get them done.  I found a couple of websites that are willing to share how to make these items.  I also need to make more cards.  Thanks for looking and see you next time.


Sunday, March 6, 2011

CHALLENGE #4 COMPLETED

Hi everyone,

Well, I finally finished my submission for TRY STAMPIN ON TUESDAY #4.  I knew what I was going to do but didn't get time until earlier this afternoon.  I wanted to incorporate the Ice Parlor Designer Paper and the ribbon & buttons on the card.  I had a hard time trying to figure out my two embellishments so this is what I ended up with.

Supplies:
Cardstock: Pacific Point, W.White (inside) , Very Vanilla for frosting & Ice Cream Parlor DSP.
Ink: Pacific Point, Peach Parfait, & Sarah Sand
Stamps: Create A Cupcake
Accesories: Ribbons & Buttons Pack, linen thread
Tools: Oval Punch, Crimper, Cutter Kit (for distressing both ovals),corner scallop punch (inside) and dimensionals

This is the inside:


Now you can go and check out the other submissions at Try Stampin on Tuesdays and maybe you can try it for yourself.  Praying for LOTS of sunshine this coming week.  By the way if you are viewing this please leave a comment. (even if it's to say "HI") Thanks for stopping by.

Monday, February 28, 2011

TRY STAMPIN ON TUESDAY #3


Well, I finally decided to get in on a challenge. I have until tonight to get it in so this will be short. I made it this afternoon but waited till now to post it. Here is what I am submitting:


Supplies:
Stamp set - Punch Bunch and So Happy for You (envelope)
Cardstock - Concord Crush, Whisper White, Concord Crush 6x6 DSP
Ink - Concord Crush; Elegant Eggplant and Perfect Plum Markers
Accesories - Beautiful Wings embosslits, Concord Crush stitched ribbon, Basic Pearls and ribbon punch

This is what the inside looks like.

This was a lot of fun so now I will try an participate each week.  If you would like to join in the challenges go to Try Stampin on Tuesday.  Who knows, I might just get my supply of cards made that I need.  See you later.

Sunday, February 27, 2011

SWEET HELLO and ICE CREAM PARLOR

Hi everyone,
My sister, Sandi, emailed me the other day wanting to know why I haven't been blogging. Well, I figured since my other sister and her are usually the only ones to look at it then it doesn't matter when I do it. Right? Don't get me wrong, I really like their comments but would really like it if more people would leave comments. In fact, all you have to do is just say "hi" in the comments. Then I would feel like someone is really interested in seeing what I do. Oh well, enough of "pity me".  On to the latest creations.

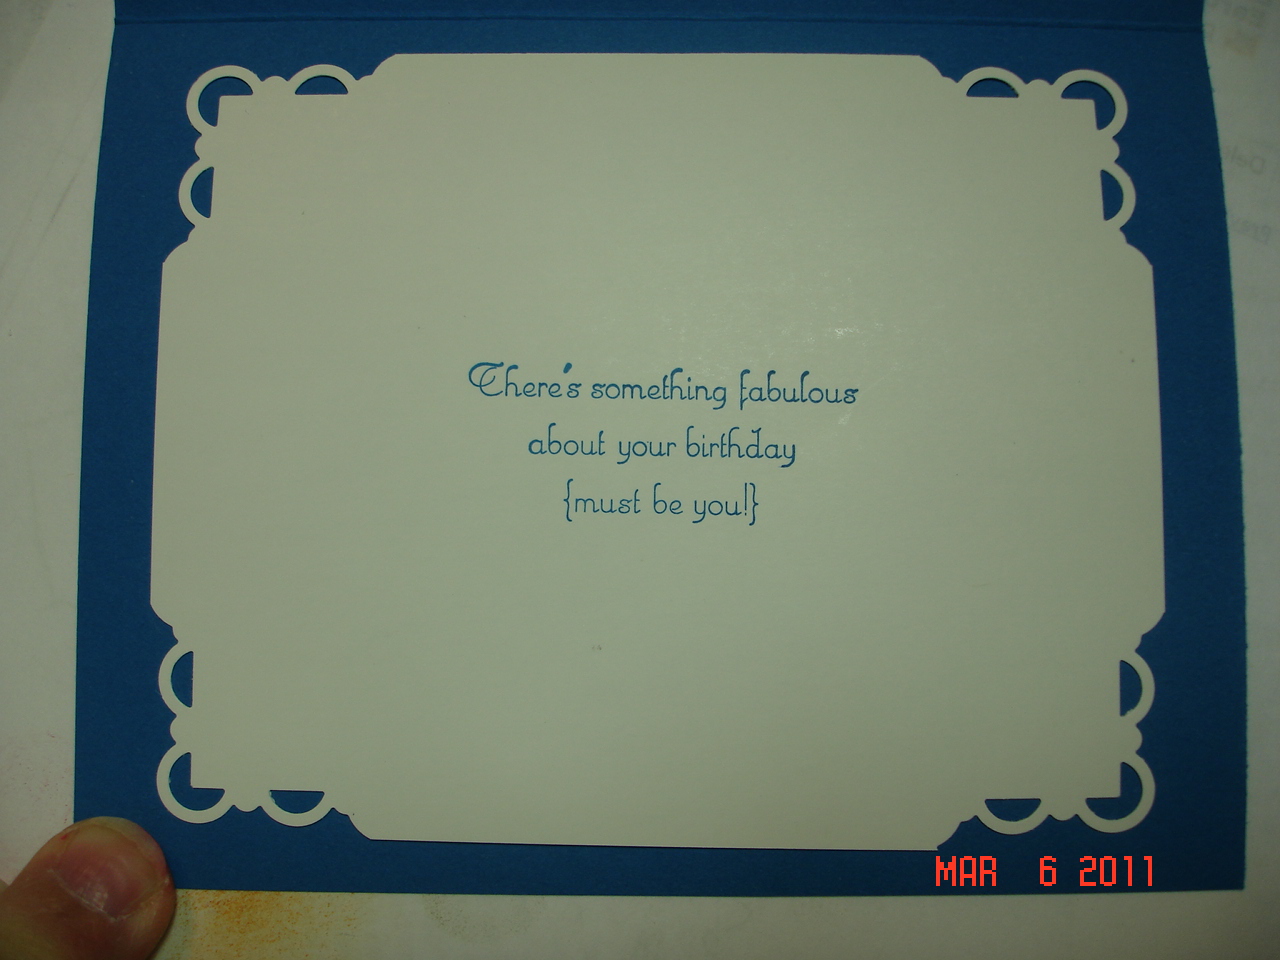
First I ordered the Simply Sent Sweet Hello package (p.183 in big catalog) and really liked the embossed pre-stamped cards. I didn't use the stamp set that was recommended as I tend to need birthday cards more that anything else. I changed the design a little by using the Birthday Wishes stamp from the Bring On the Cake stamp set. (using Baja Breeze ink pad) Also I positioned the flowers differently so it looks like flowers are on a stem. Speaking of the flowers-included in the package are some very tiny sticky tabs to adhere to back of flower. However, I found them to be hard to use so used mini glue dot instead. After putting it on back of flower and then attaching to card, I could scrunch up the flower for more fullness. The set consist of 8 cards with envelopes and the whole package is only $11.95 (comes to $1.50 per card). I have ordered the Simply Sent Medallion Medley from the Occasions Mini to try next (same cost and number of cards/envelopes). Can't wait for that to come this week.


For my next card I used the Ice Cream Parlor DSP and Ribbon & Button Pack. I love these colors, so bright and vibrant. It was very easy to make and great for a make-n-take. Supplies used: Pacific Point &Whisper White cardstock, Punch Bunch stamp set, Pacific Point ink pad, Scallop Trim Border punch and colored embroidery thread to match buttons.


I know Valentine's Day is history, but I wanted to share with you the valentines Dick & I made for our two granddaughters to take to school.  Yes, I said my husband helped and boy am I greatful and thankful.  We made 53 treat packages.  We worked like an assembly line and it only took us about 5 hrs.  I spent the 1st hour getting everything cut/embossed and then Dick asked if I needed HELP.  The reason we had to hurry was because I originally thought the school parties would be on Monday the 14th and I knew the girls were coming over for the day on Saturday and since they love making stuff I would let them help.  Guess what? I found out on Wed. night that the parties were going to be on Friday. YIPES, the pressure was on.  I spend Wed. evening packaging up 53 bags of treats(there is another story here but won't bore you).  Here is the end results. 
and I also decorated bags for them to carry their packages in and to bring home their valentines from the other kids. 

The hearts were left over from making the candy holders.  Kirsten & Jenna called me Friday night and told me how much they liked them and to report that their valentines were the best in the whole class.  They sure know how to make brownie points, don't they?  Well this is all for now and hope to get back here real soon but no promises, SANDI!  Have a good evening from my house to yours.


Saturday, January 22, 2011

CALENDAR AND NOTE PAD TIN HOLDERS

Hi Everyone,  It has been a busy week.  After today I don't have anything scheduled except doctor's app't's and my eldest granddaughter's birthday (next Sat.).  I spent this past week making 6 calendar/note pad tin holders for our camping friends and my hairdresser.  I used SU's tins (in the Clearance Rack) so the cost for making was minimal.  I ordered my 2011 calendars and notepads from Andrea (from Canada) which came in bundles of 5 each.  You can make your own calendars and note pads, but I didn't have time this year.

I made two of each design.  Oops I forgot to take picture of inside.

Oh well, I will take one later and add it on.  Inside is the calendar for this year (on the top half inside lid) and the bottom half has the lined note pad.  I didn't include the small ink pen this year but if I come across them next time I go to Office Max or Best Buy I will pick up a bunch so I have them on hand.

Not much more going on, it is toooo cold outside to go anywhere so we mostly stay in and watch movies that Dick has taped.  I try to go out to my work area about 3-4 hrs. after lunch but usually end up falling asleep at the computer around 2:30 and then go lay down on bed for a couple of hours.  We are thinking about going to Davison and renting a cabin for a week just to get out.  Also most of our camping friends live in that area so we could visit with them.  Okay it is only 7:20 pm but my eyes are drooping so I better get away from the computer before I doze off!!  Have a great evening and see you back here soon.

Wednesday, January 5, 2011

FIRST SCRAPBOOK PAGE USING MDS

Wow, I can't believe I finally did it.  I used MDS to do my top two layers of the page and then printed it out with my printer.  The colors really match good (I have a HP printer) and I like the finished look.  I then took a piece of 8 1/2"x11" Marine Mist cardstock and placed my printout on it.  I then used the corner punch (large corners) to do the Old Olive corners.  I used a piece of pewter hardware with the wide striped Old Olive ribbon at the bottom of page and then decided it needed something more.  Ahha, I got my snowflake stamp and the versamark to fill in around the MDS page.  I hope I explained it correctly.  I originally was going for an 8x8 page but it was too small for me so changed it to the 8 1/2 X 11" page.  I wanted to do some 8x8 pages to put into the new albums that SU is selling. I have 3 now that are all different colors.  So pretty.  Here is a picture of my completed project.(Click on picture to enlargen)

(I haven't put a title on this yet as this will be a 2 page layout)

Next is a picture of the birthday card I made for my sister, Sandi, last July.  I really like this stamp set (hat) and it was my first try at stamping on the envelope and then coloring it.


My brother-in-law's birthday is this Friday and I wanted to make a card using circles and some of the new in-colors.  I also wanted it to be bright as we have had nothing but gloomy gray skies for quite a while.  Now for the DUMB thing I did.  I do this almost every time I make a card.  I got the envelope addressed, put stamp on and then stuffed the card into the envelope and licked it shut.  Are you still following me...Yup, I forgot to take a pictue of the card.  So, I hurried up and opened it back up and took this picture.  So if you ever get a card from me and it looks like someone opened it...it happened again!!!


I also didn't put a dark background underneath the card before taking this picture so it is hard to tell this is a white card. DUH, maybe when I get my memory back I won't make this mistake again,  LOL  If you believe that than you don't know me!!  Have a good day and now I have to get supper on the table.  By the way both of these cards were cased from someone who posted it on SCS and when I printed out a copy, I forgot to write their name down.  Thank you whoever you are.

Saturday, January 1, 2011

HAPPY NEW YEAR EVERYONE

Well it is halftime for MSU and I am so disappointed in their game play that I even turned over to watch UofM (they managed to score two touchdowns in first half!!)  I decided maybe I need to NOT watch the second half and maybe they can pull it off-did I say that I am a believer in MIRCLES!!!

I thought I would show you some pictures of my granddaughters doing some great crafty stuff.  First I made up some cinnamon/applesauce dough and rolled it out and let them use the cookies cutters and put some gems on each of them for decorations.  When they cut out the dough I had them use a swizzle stick to make hole at top. Since I had to put in oven for 5 hrs. they didn't see the results until the next day.  Only a couple of the decorations set in the dough so I had to use my crystal effects.  I then put a ribbon into each hole and when they came over later that day, I gave all of them except one to put on their tree.  It was a lot of fun and I believe the dough made around 20 ornaments.  Great activity for children of all ages.


Our next activity was our yearly cookie decorating.  Grandpa makes some sugar (from a tube) cookies and then when the little darlings got here, they started in decorating.  It was fun watching how different they worked compared to last year.


Jenna And Kirsten really getting into it.

Jenna doing KP.  She is our little helper, always keeping
the kitchen counter clean.

Now I guess I had better show some of my cards made from swap samples or else my sister won't count this blog for meeting my challenge.  At one of Ronda's Retreats, I won the silent bid for a HUGE box of card swaps.  I then removed the bottom layer and attached what was left to a new cardstock and added  embellishments.  I don't have all the SU stamps so this makes it nice for me to be able to make over cards that someone else has made.  Some of my Xmas cards were my own design but the ones I sent out this year were mostly made overs.  Hope you like.

 This was for my sister, Kathleen
 This is for my sister, Sandi
This is for my sister-in-law, Wilma

Well that is all for now, have just a few more that I will post at a later date.  I am going to try and make some 8x8 album pages for SU's newest albums. Have a good day and keep smiling.